Configuring Dronetag Scout
Without data, the on-premise instance is not very useful. You need to change the forwarding target of your Dronetag Scout to point to your on-premise node. This guide will help you set up that.
1. Follow the Dronetag Scout User Manual
If you have not yet installed your Dronetag Scout, or if you are not sure it's fully ready, please follow all of the instructions in the Dronetag Scout User Manual to learn how to install Dronetag Scout, physically mount it and connect it to your network.
2. Configure the Scout to send data to your on-premise node
Dronetag Scout should be able to find the local services automatically (A), or you may need to configure the URLs manually (B).
a. Automatic set-up via zeroconf
As of July 2025, you may not yet be able to use the automatic setup via zeroconf. We're working on it.
Applies for: Only pre-installed nodes, or nodes with zeroconf support manually configured.
We use zeroconf to „auto-magically“ set-up everything for you. In ideal conditions, it should be enough to connect the equipment on the same local network. Before you start configuring manually, verify if the equipment is working.
b. Configure URLs manually
Applies for: Both pre-installed nodes and self-installed nodes.
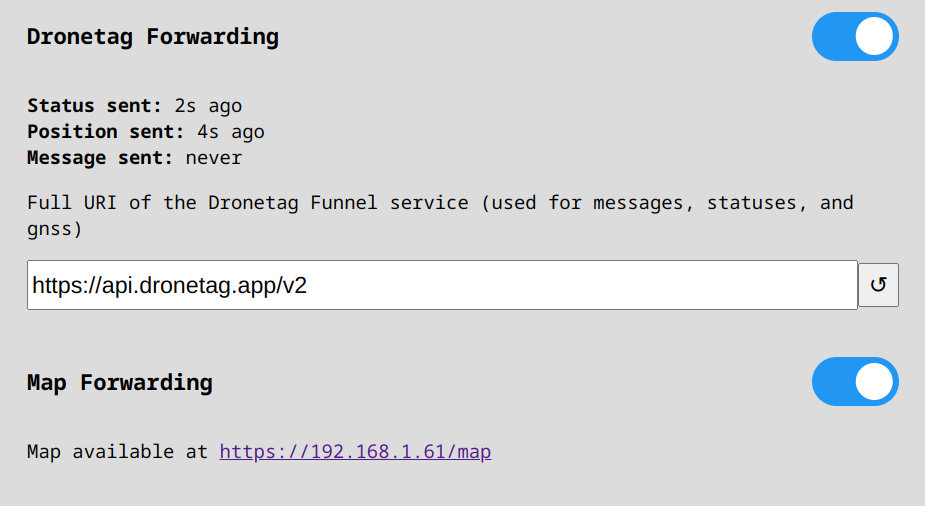
After your Scout is installed, open the Scout admin panel and navigate to the forwarding configuration.
👉 Refer to the Sensor configuration page.
On this page, make sure you have the Dronetag Forwarding option enabled, and set to:
http://dt-onprem-<ID>.local
OR
http://<YOUR-INSTANCE-IP>
Press Update forwarding to save the changes.