Integration with Spektrum devices
New Feature Introduced in the Latest Firmware Update
The Dronetag BS now supports integration with Spektrum receivers. By connecting the Dronetag BS to a SRXL2-compatible or XBUS-compatible device, the BS supplies additional telemetry data that is seamlessly transmitted to your drone's transmitter. This allows you to view important telemetry information directly on your transmitter display during operation, enhancing your situational awareness and providing additional data you may require for safe and efficient drone flights.
SRXL2 Setup and Connection Manual
1. Setup
In this example, we’ll use the Spektrum receiver AR6610T, which provides SRXL2 as well as XBUS interface.
2. Connection
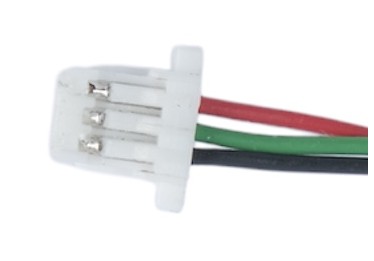
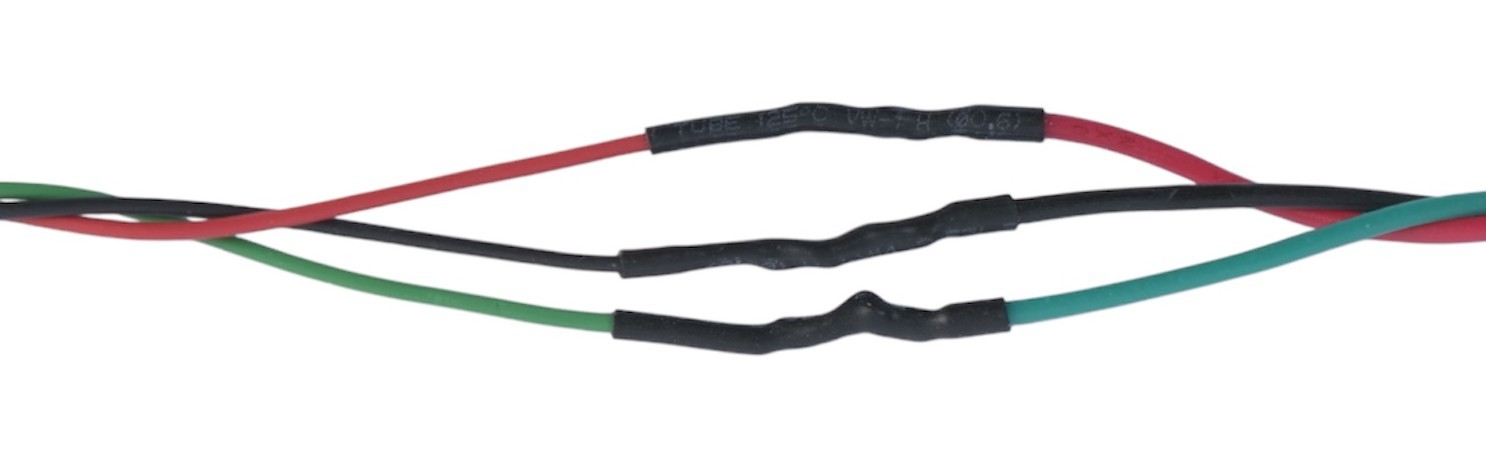
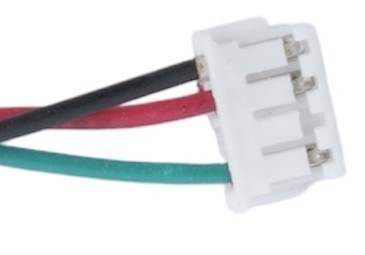
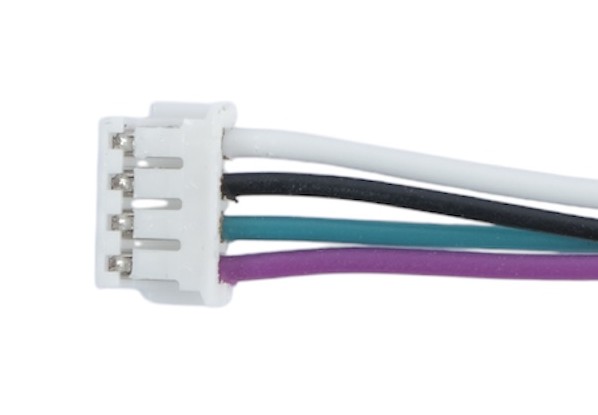
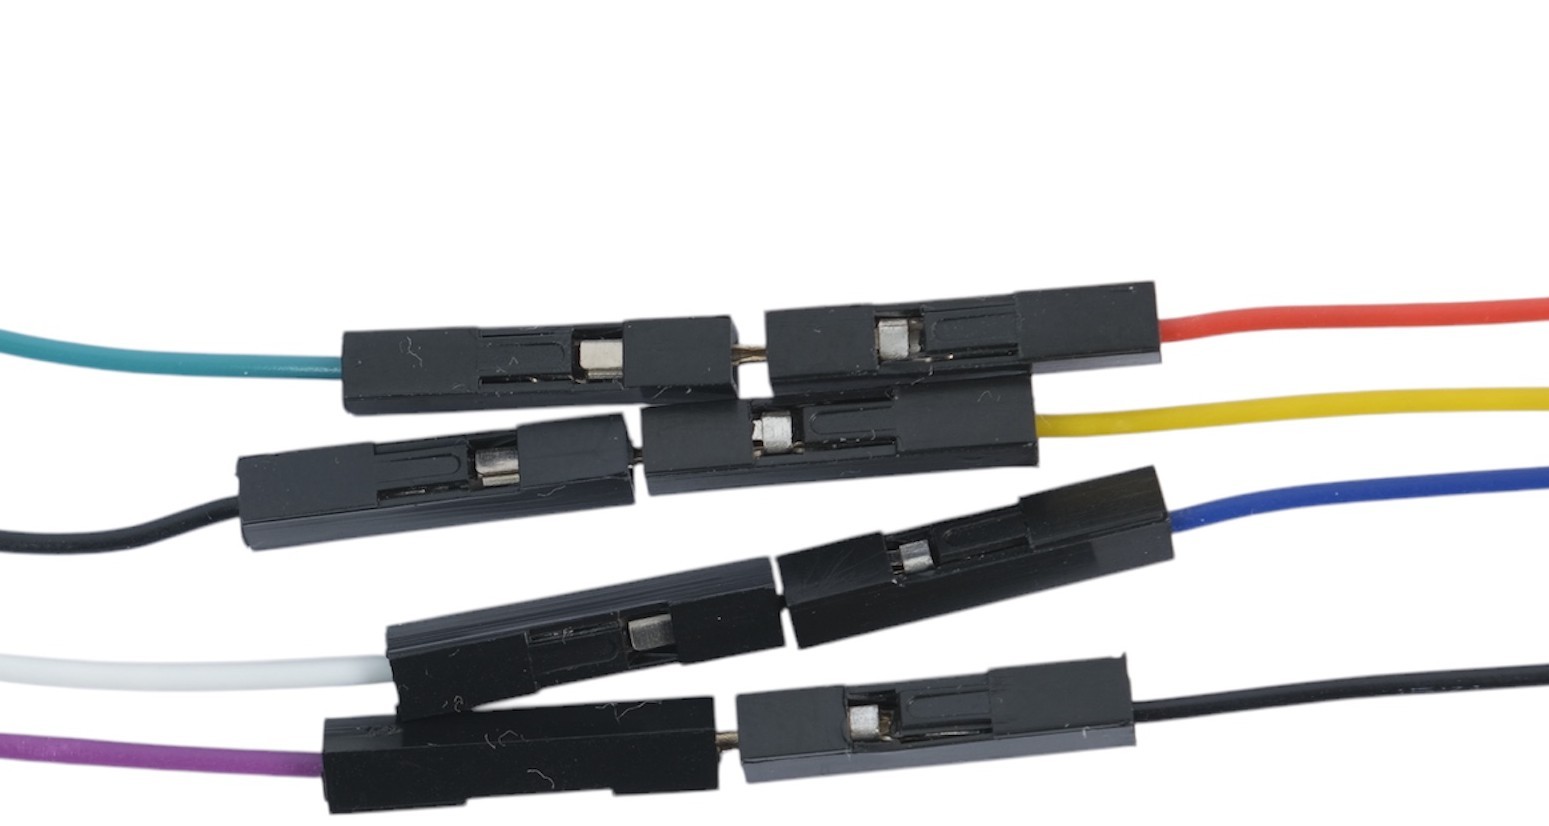
To connect the SRXL2-compatible device to the Dronetag BS, you’ll need to make a custom cable. On the Dronetag BS side, the cable requires a 3-pin connector (3-pin JST SH Series). On the Spektrum side, refer to the appropriate connector specified in the device datasheet (in our case, a 4-pin JST ZH connector with a 1.5 mm pitch - one pin is unused).
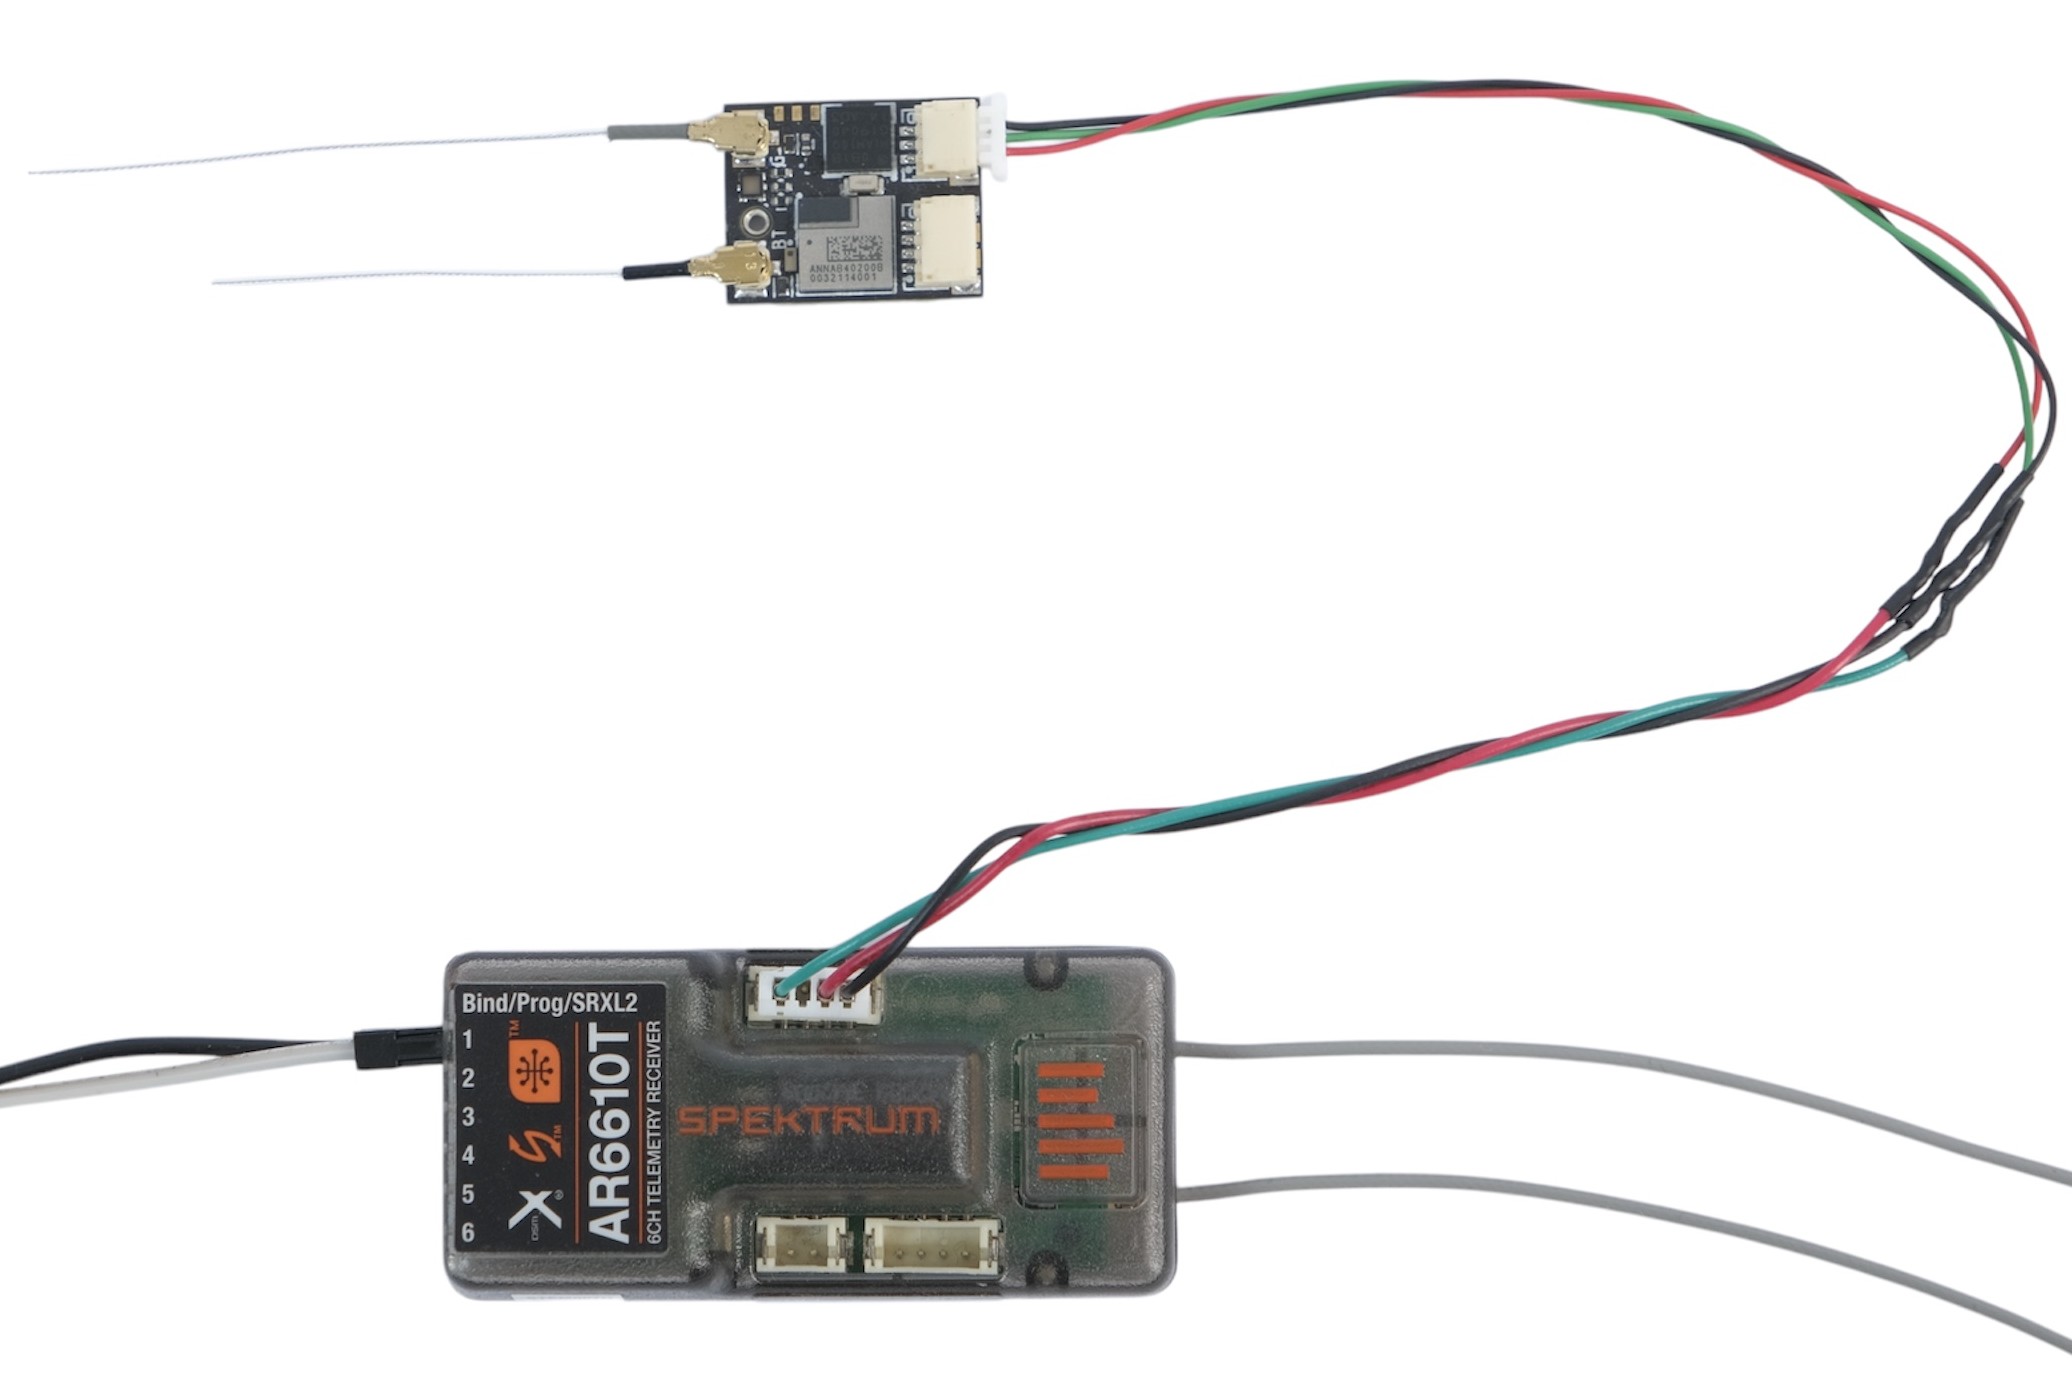
Keep in mind that the Dronetag BS still requires power. Ensure the power pins are connected, and verify that the Spektrum device can supply sufficient current. Refer to the image below for guidance:
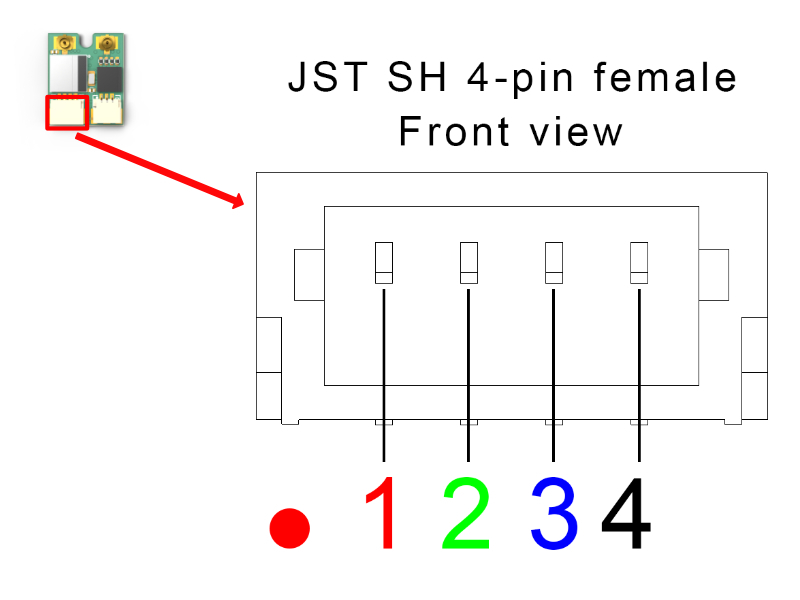
For the pinout reference:
- BS side: Refer to the 3-pin connector description.
- Spektrum side: Refer to the device's datasheet.
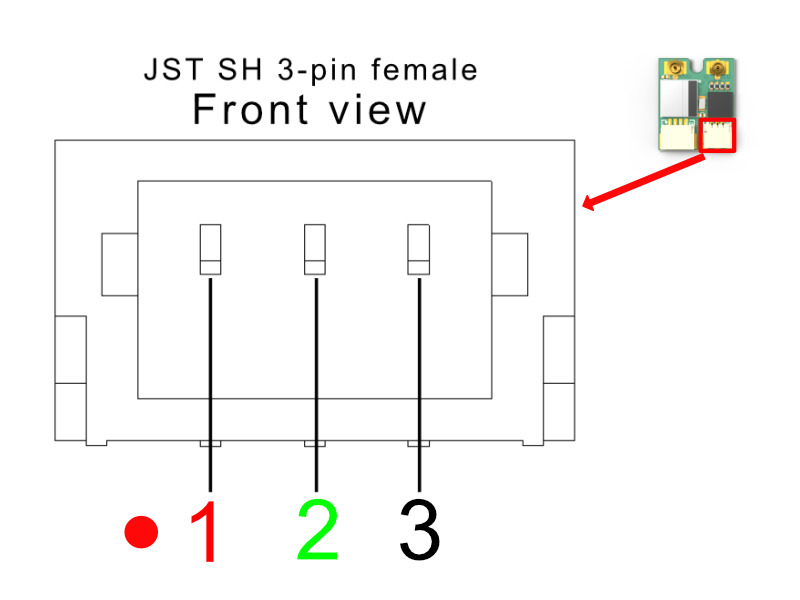
| Pin # | Name | Scheme Color | Description |
|---|---|---|---|
| 1 | VCC | Red | 3.3V to 17V. Directly connected to pin 1 at 4-pin connector |
| 2 | RESERVED | Green | SRXL2 data pin |
| 3 | Ground | Black | Ground connection |
3. Power On and Operation
- No special power-up sequence is required.
- No additional settings need to be configured in the Dronetag mobile app.
After powering on both devices, you should see the live telemetry data on the screen of the transmitter (in this example Spektrum NX6 DSMX) as soon as the Dronetag BS obtains a GPS fix.
XBUS Setup and Connection Manual
1. Setup
For this XBUS example, we’ll use the Spektrum receiver AR6610T.
2. Connection
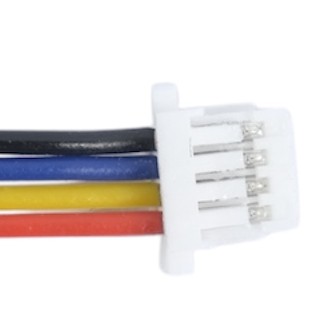
To connect an XBUS-compatible device to the Dronetag BS, you’ll need to create a custom cable, slightly different from the SRXL2 configuration. On the Dronetag BS side, the cable requires a 4-pin connector (4-pin JST SH Series). On the Spektrum side, refer to the appropriate connector specified in the device datasheet (in this case, a 4-pin JST ZH connector with a 1.5 mm pitch).
Keep in mind that the Dronetag BS still requires power. Ensure the power pins are connected, and confirm that the Spektrum device can supply sufficient current. Refer to the image below for guidance.
Pinout reference:
- BS side: Refer to the 4-pin connector description below.
- Spektrum side: Refer to the device's datasheet.
| Pin # | Name | Scheme Color | Description |
|---|---|---|---|
| 1 | VCC | Red | 3.3V to 17V. Directly connected to pin 1 at 3-pin connector |
| 2 | XBUS I2C SCL | Green | I2C Serial Clock (3.3V logic - 5V tolerant) |
| 3 | XBUS I2C SDA | Blue | I2C Serial Data (3.3V logic - 5V tolerant) |
| 4 | Ground | Black | Ground connection |

3. Power On and Operation
There are specific steps required to establish communication with XBUS:
-
Configuration settings:
Open the Dronetag app, navigate to the "Configuration" section, and under "4 Pin Connector Selection," set the function to "Spektrum XBUS." -
Power-up sequence:
Both devices must be powered on simultaneously to ensure the initial XBUS handshake is established. If powered on separately, the handshake may fail, and communication will not work.
After a successful connection, you should see the telemetry information displayed on the screen of your transmitter.