🔌 Connecting to the Scout
The Dronetag Scout features a built-in HTTPS management interface, accessible over your local network on port 443.
This interface allows you to:
- Preview detected data
- Configure network and system settings
- Manage the device securely
To access the interface, you must first determine the Scout’s IP address on your network.
There are two ways to reach the Scout:
- Through your network (DHCP) — the Scout obtains an address from your network's DHCP server and you discover it using an mDNS/Bonjour browser.
- Directly with a static IP — no network or DHCP server is required; you connect a computer straight to the Scout and use its fallback address.
🔍 Finding the Scout on Your Network
By default, the Scout is shipped with DHCP enabled. When powered and connected via Ethernet, the Scout will attempt to obtain an IP address automatically from your network's DHCP server.
If no DHCP server responds within 60 seconds, the Scout falls back to a static IP configuration — see Connecting Directly with a Static IP below. This fallback is temporary: the Scout keeps looking for a DHCP server and returns to a DHCP address automatically once one is available, so its address on your network may change from the fallback back to a DHCP-assigned one.
If you don’t know what IP address the Scout received from your DHCP server, use one of the following methods depending on your platform:
- Android
- iOS
- Windows
- macOS
- Linux
📱 Android – Bonjour Browser
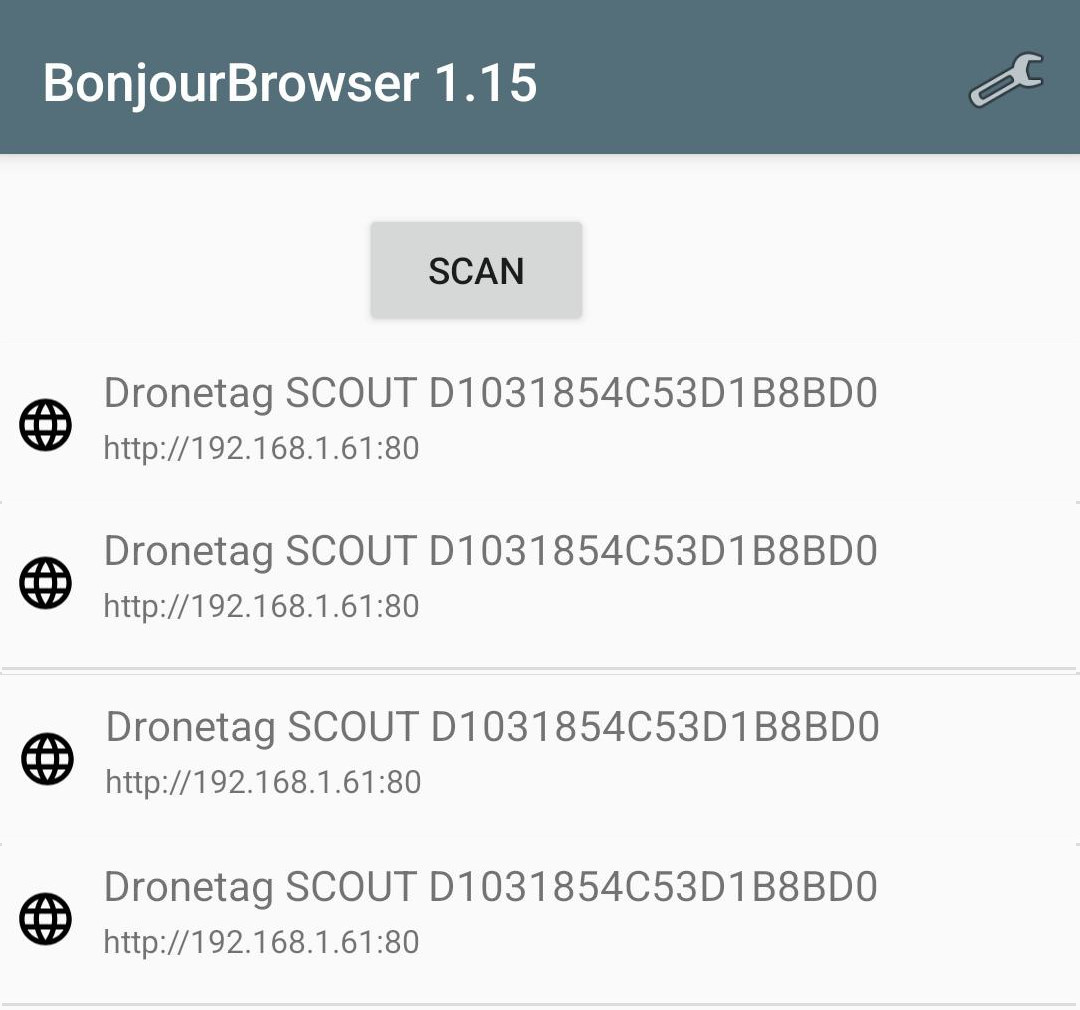
Download Bonjour Browser on Google Play


- Install and open the app.
- Locate Dronetag Scout in the list.
- The IP address and hostname will be shown.
📱 iOS – Flame Services Browser
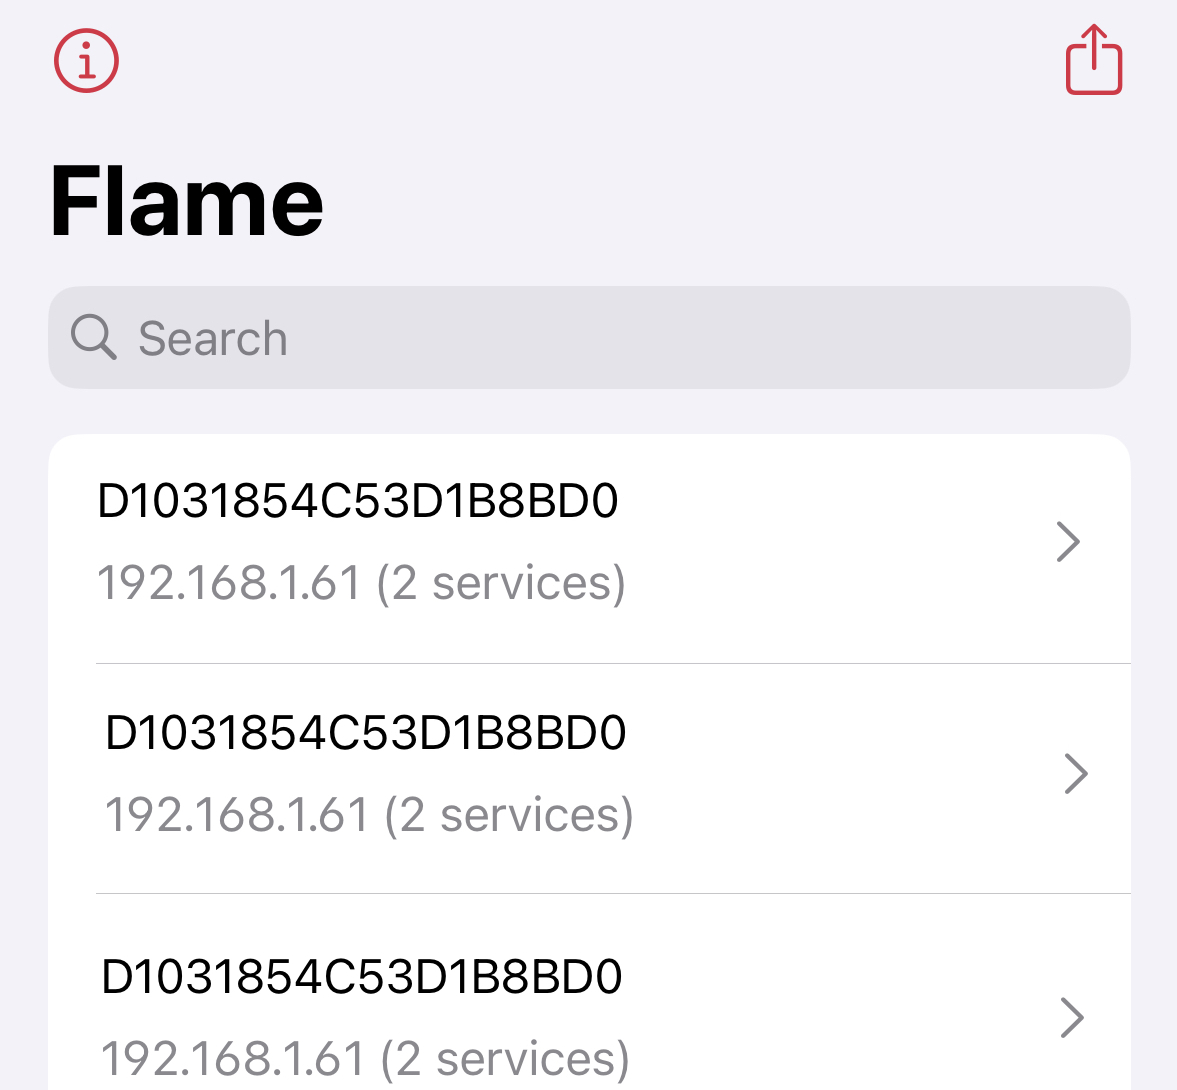
Download Flame Services Browser on App Store:


- Launch the app.
- Locate Dronetag Scout Serial number in the list.
- Find Dronetag Scout and note its IP address.
🪟 Windows – Bonjour Browser
Tool: Bonjour Browser
- Launch Bonjour Browser.
- Expand
_https._tcpsection. - Find the Dronetag Scout entry and view the IP address.
Ensure your firewall allows mDNS (UDP 5353) for discovery.
🍎 macOS – Built-in Bonjour
macOS has Bonjour (mDNS) support built in — no extra software is needed.
-
Open Terminal (Applications → Utilities).
-
Browse for HTTPS services on your network:
dns-sd -B _https._tcp -
Find the Dronetag SCOUT entry (it contains the device serial number) and stop browsing with
Ctrl+C. -
Resolve its IP address, replacing the hostname with the serial number from the previous step:
dns-sd -G v4 D1031854C53D1B8BD0.local
Alternatively, you can enter the hostname directly into your browser: https://<serial-number>.local
🐧 Linux – Using avahi-browse
Install Avahi utilities:
# On Debian/Ubuntu:
sudo apt install avahi-utils

# On Fedora:
sudo dnf install avahi-tools

# On SUSE/openSUSE:
sudo zypper install avahi-utils
Run the discovery command:
avahi-browse -rt _https._tcp

+ wlp0s20f3 IPv4 Dronetag SCOUT D1031854C53D1B8BD0             _https._tcp          local
= enp0s13f0u3u1 IPv4 Dronetag SCOUT D1031854C53D1B8BD0             _https._tcp          local
   hostname = [D1031854C53D1B8BD0.local]
   address = [192.168.1.61]
   port = [443]
   txt = []
Access the interface via browser:
https://192.168.1.61
🖥️ Connecting Directly with a Static IP
If there is no DHCP server available — for example during first setup on a desk, in an isolated field deployment, or while troubleshooting — you can connect your computer directly to the Scout with an Ethernet cable.
How the fallback address works
If the Scout does not receive an IP address from a DHCP server within 60 seconds after powering up, it automatically falls back to a static IP configuration:
- IP Address:
192.168.100.100/24 - Default Gateway:
192.168.100.1
This fallback keeps the Scout reachable whenever there is no DHCP server. It is temporary: while on the fallback the Scout keeps checking for a DHCP server in the background and automatically switches back to a DHCP address as soon as one becomes available, so on a network with working DHCP it will not stay on 192.168.100.100. If you need the Scout to hold a fixed address permanently, set a static IP in the management interface instead — see the note at the end of this section.
The Scout is powered over the Ethernet cable (PoE), so a direct connection always goes through the PoE injector included with your unit: connect your computer to the injector's LAN / Data port and the Scout to the PoE / Power+Data port.

To communicate, both devices must be in the same subnet. The Scout's fallback address is fixed, and you configure your computer to match:
| Setting | Dronetag Scout | Your computer |
|---|---|---|
| IP address | 192.168.100.100 (fixed fallback) | 192.168.100.10 (recommended) |
| Subnet mask | 255.255.255.0 (/24) | 255.255.255.0 (/24) |
| Gateway | 192.168.100.1 | leave empty |
| DNS | — | leave empty |
Any free address in the 192.168.100.2 – 192.168.100.254 range will work for your computer, except 192.168.100.100 (used by the Scout) and 192.168.100.1. The examples below use 192.168.100.10.
Setting a static IP on your computer
- Windows
- macOS
- Linux
🪟 Windows 10 / 11
- Open Settings → Network & internet → Ethernet.
- Next to IP assignment, click Edit.
- Select Manual and switch IPv4 on.
- Fill in the values:
- IP address:
192.168.100.10 - Subnet mask:
255.255.255.0(on Windows 11 this may be shown as Subnet prefix length:24) - Gateway: leave empty
- DNS: leave empty
- IP address:
- Click Save.
Alternatively, using the classic Control Panel (works on all Windows versions):
- Press Win + R, type
ncpa.cpl, and press Enter. - Right-click your Ethernet adapter and choose Properties.
- Select Internet Protocol Version 4 (TCP/IPv4) and click Properties.
- Choose Use the following IP address and enter
192.168.100.10with subnet mask255.255.255.0. Leave the gateway and DNS fields empty. - Confirm with OK.
Verify the connection from Command Prompt or PowerShell:
ping 192.168.100.100
📖 Official guide: Microsoft – Change TCP/IP settings
🍎 macOS
On macOS 13 Ventura and newer:
- Open System Settings → Network and select your Ethernet interface (or your USB Ethernet adapter).
- Click Details… → TCP/IP.
- Set Configure IPv4 to Manually.
- Fill in the values:
- IP address:
192.168.100.10 - Subnet mask:
255.255.255.0 - Router: leave empty
- IP address:
- Click OK.
On older macOS versions, the same settings are under System Preferences → Network → Ethernet → Configure IPv4: Manually.
Verify the connection from Terminal:
ping -c 3 192.168.100.100
📖 Official guide: Apple – Change TCP/IP settings on Mac
🐧 Linux
Desktop (GNOME — Ubuntu, Fedora, …):
- Open Settings → Network and click the gear icon next to your wired connection.
- Open the IPv4 tab and select the Manual method.
- Fill in the values:
- Address:
192.168.100.10 - Netmask:
255.255.255.0 - Gateway and DNS: leave empty
- Address:
- Click Apply, then toggle the wired connection off and on to apply the change.
Command line (NetworkManager):
# List connection names
nmcli connection show

# Set a static address on your wired connection
sudo nmcli connection modify "Wired connection 1" \
  ipv4.method manual ipv4.addresses 192.168.100.10/24

# Re-activate the connection
sudo nmcli connection up "Wired connection 1"
Temporary address (lost after reboot, replace eth0 with your interface name from ip link):
sudo ip addr add 192.168.100.10/24 dev eth0
Verify the connection:
ping -c 3 192.168.100.100
📖 Official guide: GNOME – Manually set network settings
Open the management interface
Once your computer's static IP is configured and the Scout has been powered on for at least 60 seconds, open your browser and navigate to:
https://192.168.100.100
When you are finished, switch your computer's Ethernet adapter back to automatic (DHCP) — otherwise it will not connect properly to regular networks.
The fallback address is only a temporary safety net for direct access when no DHCP server is available — the Scout returns to DHCP automatically once a server is reachable again, so it will not stay on 192.168.100.100 on a network that has DHCP. If you want the Scout to permanently use a specific static IP on your network, configure it in the management interface — see Configuring a Static IP Address. Setting a static IP there disables DHCP, so the Scout keeps that address and never falls back to — or returns to — DHCP.
🔐 Accessing the Interface
Once you have the Scout's IP address:
- Open a web browser.
- Navigate to:
https://<Scout-IP>(replace<Scout-IP>with the actual IP address, e.g.,https://192.168.1.42). - Because the Scout uses a self-signed certificate, your browser will likely show a security warning.
- Proceed by allowing the insecure connection. This may appear as "Advanced > Proceed to IP", depending on your browser.
- Log in using the default credentials provided by Dronetag Support.
The Scout includes a login-protected management UI. The default username and password are printed on the sticker on the bottom part of each Scout.
Upon first login, please change the default credentials to a secure username and password known only to you.
Important: Write down your new credentials securely. If you perform a factory reset on the unit, it will revert to the default login credentials.
🔧 Configuring a Trusted Certificate
To avoid browser security warnings and enable a trusted HTTPS connection, you can configure the Scout with a certificate trusted by your system.
You can find certificate management options in the Configuration section of the interface.
Here, you can:
- Upload a certificate signed by your internal Certificate Authority (CA), or
- Generate a Certificate Signing Request (CSR) to obtain a signed certificate from your CA.
Once installed, the trusted certificate will replace the default self-signed one, ensuring seamless and secure access from trusted devices.
For the detailed description please refer to the system configuration page.
🛠️ Troubleshooting Connectivity
If you're unable to access the Scout’s interface refer to the detailed network troubleshooting section.